get connected
Mobile App
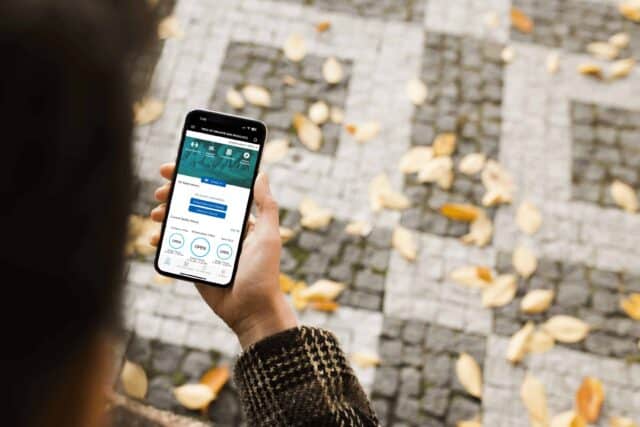
The new mobile app is here!
Wellness at your fingertips.
Download the YMCA app today.

Download our new app for mobile check-in, class schedules, reservations, hours and more.

YMCA App Features
Download our new app for mobile check-in, class schedules, reservations, hours and more.
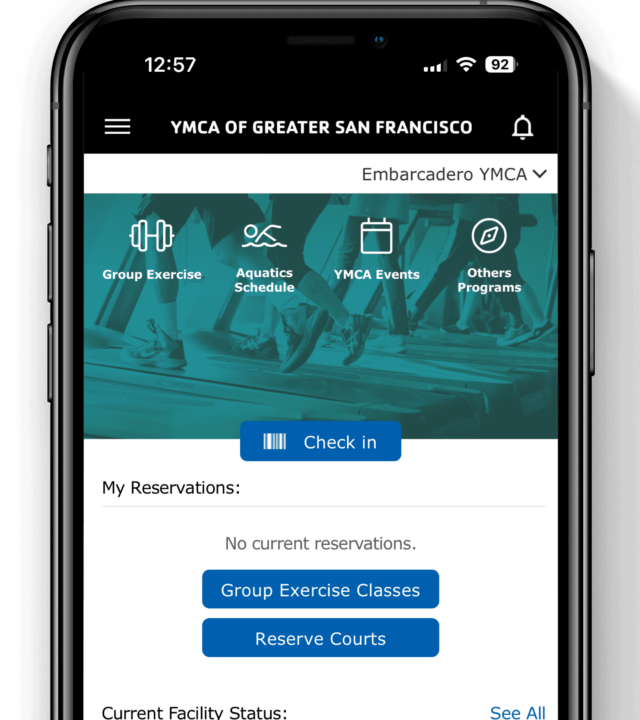
GROUP EXERCISE
Browse the group exercise schedule and reserve a spot.
UPCOMING RESERVATIONS
Quickly view all of your upcoming reservations. You can easily cancel any reservation from the app.
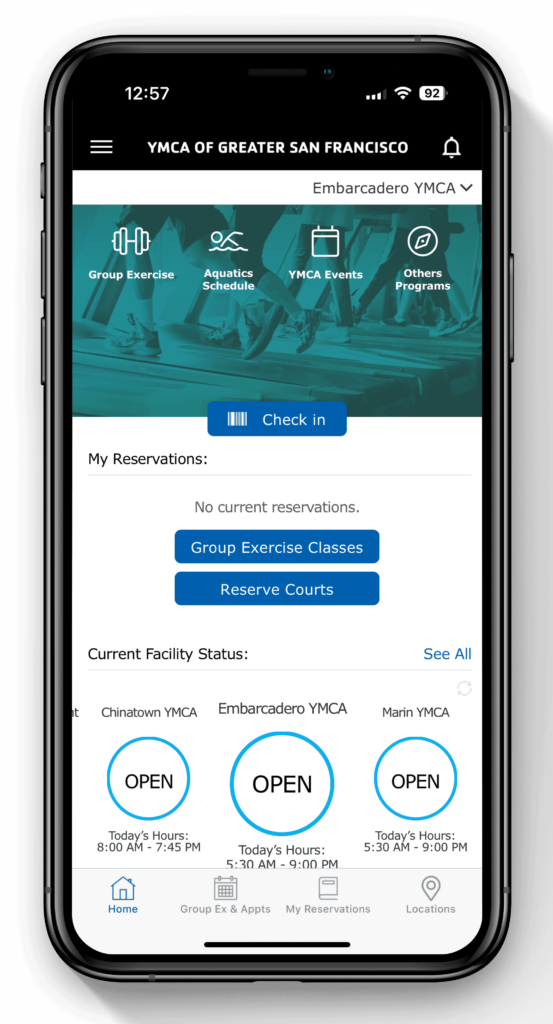
FACILITY SCHEDULES
View your Y’s hours as well as open gym and lap swim hours.
CHECK-IN
Check in to the Y with your phone. No key fob needed!
COURT RESERVATIONS
Reserve Tennis and Racquetball courts.
ALERTS
Receive alerts for class cancelations, facility closures and more.
YOUR Y
Set the app for your preferred branch.

Mobile App &
Web Registration How-To’s

- Open the Google Play Store or Apple App Store on your mobile device.
- Type in the YMCA of Greater San Francisco in the search bar.
- Click the download button to install the app onto your device.
- Exit the app store and wait for the download to finish.
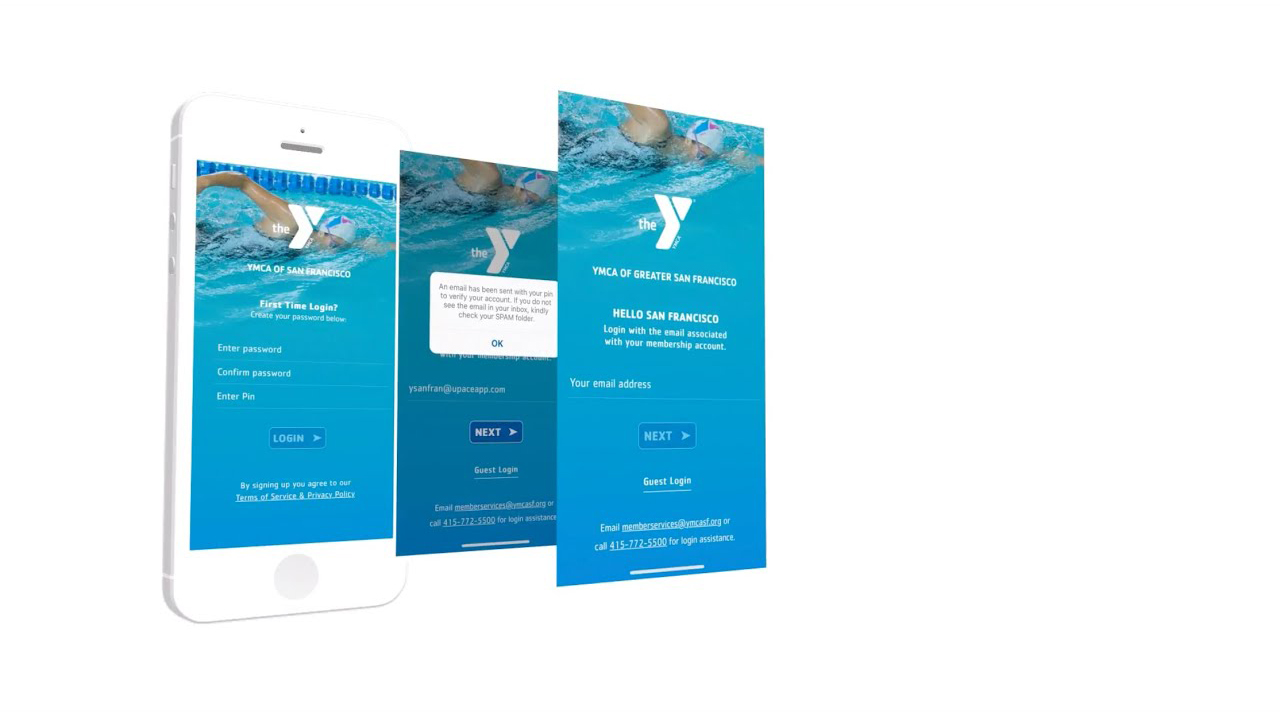
- Open the app and enter the email address associated with your membership account. (If you get an “invalid email” pop-up or doesn’t remember which email is associated with your membership account, a membership associate at your branch can assist you.)
- You’ll receive an email with a pin number – check your spam folder if you do not receive the email within a few minutes.
- Go back to the app and enter the pin number and create a password. (This same email and password combination can be used for the app and web-based reservation systems.)
- Visit the Schedules page
- Click “Login to Make Reservations” on the top right of the schedules page.
- Enter the email address associated with your membership account. (If you get an “invalid email” pop-up or doesn’t remember which email is associated with your membership account, a membership associate at your branch can assist you.)
- If you have already set up password for the app, use the same password here. If not, you’ll receive an email with a pin number – check your spam folder if you do not receive the email within a few minutes.
- Return to the schedule page and enter the pin number provided and create a password.
- Enter your email associated with your membership account on the login screen.
- Click “Forgot Password.”
- You’ll receive an email with a pin number. Check your spam folder if you do not receive the email within a few minutes.
- Follow the link in the email and enter a new password and the pin number.
- Return to the app or reservation page and login with your new password.
App Update Alerts
Using the most up-to-date version of the app ensures you get access to all the latest features as well as improvements and fixes.
Facility Notices
Receive notifications when your facility is closed or has different hours for maintenance, weather, holidays, special events, etc.
Reservation & Appointment Reminders
Get reminders about upcoming class, courts, and facility reservations as well as personal training appointments and more. You may also receive notifications about cancellations, location changes, etc.
Note: General push notifications for your facility are also visible in the alerts section of the app. You will always receive app alerts. Push notifications must be turned on and accepted (see below).
You will be prompted to allow push notifications the first time you launch the app. If you selected “don’t allow,” you may turn them on at any time in your device’s settings.
- Go to the device’s “Settings.”
- Click “Notifications.”
- Scroll down and click on the app.
- Swipe “Allow Notifications” on.
- Click the schedule icon in the footer (second icon from the left). The schedule is also available from the hamburger menu on the top left. Your app may also have a schedule icon at the top of the homepage.
- Select your location (if applicable) in the drop-down menu on the top right.
- Select preferred date. You’ll see a list of all classes on that date.
- Scroll through the list of classes on that day. You may also sort by class name, time or instructor in the search bar. The search will only show results for the date you have selected.
- Click on the class to see full class details.
- Click the schedule icon in the footer (second icon from the left). The schedule is also available from the hamburger menu on the top left. Your app may also have a schedule icon at the top of the homepage.
- Select your location (if applicable) in the drop-down menu on the top right.
- Select preferred date. You’ll see a list of all classes on that date.
- Scroll through the list of classes on that day to find your class. You may also sort by class name, time or instructor in the search bar. The search will only show results for the date you have selected.
- Click “Reserve.” The app shows how many spots are available. The “Reserve” button is also visible if you click on the class for full class details.
- If you have a household membership, select the member from your household who the reservation is for and complete the reservation.
- Please note: Presidio Tennis Membership is required to reserve tennis courts.
- Select “Reserve Courts” from the app homepage.
- Select location (Presidio for Tennis Courts, Marin for Racquetball courts) in the drop-down menu on the top right.
- Select your preferred date.
- Find the court you would like to reserve.
- Select the start time and duration. Please note – only available start times will be shown in the list of available times. Make sure you account for the duration of your reservation when selecting a start time. Example: if 12pm doesn’t show as available in the list of times to reserve then the court is reserved at that time so if you’d need to consider the duration and start time to book the slot before 12pm i.e. 60 minutes would need to start at 11am, 90 minutes at 10:30am etc.
- Click “Reserve.”
- Click “Accept.”
- If you have a household membership, select the member from your household who the reservation is for and complete the reservation.
- Click the “My Reservations” icon in the footer of the app. Your upcoming reservations are also visible on the homepage.
- Find the class or equipment and click “cancel.”
- Click “Yes, cancel reservation” to confirm your cancellation.
- You’ll see a pop-up confirming your cancellation with an option to make another reservation. Canceling your reservation automatically opens a spot for another member.
- Open the YMCA of Greater San Francisco app.
- Click on the “Check In” button in the middle of the screen.
- If you have a household membership, you can swipe to view other family member barcodes for checking in.